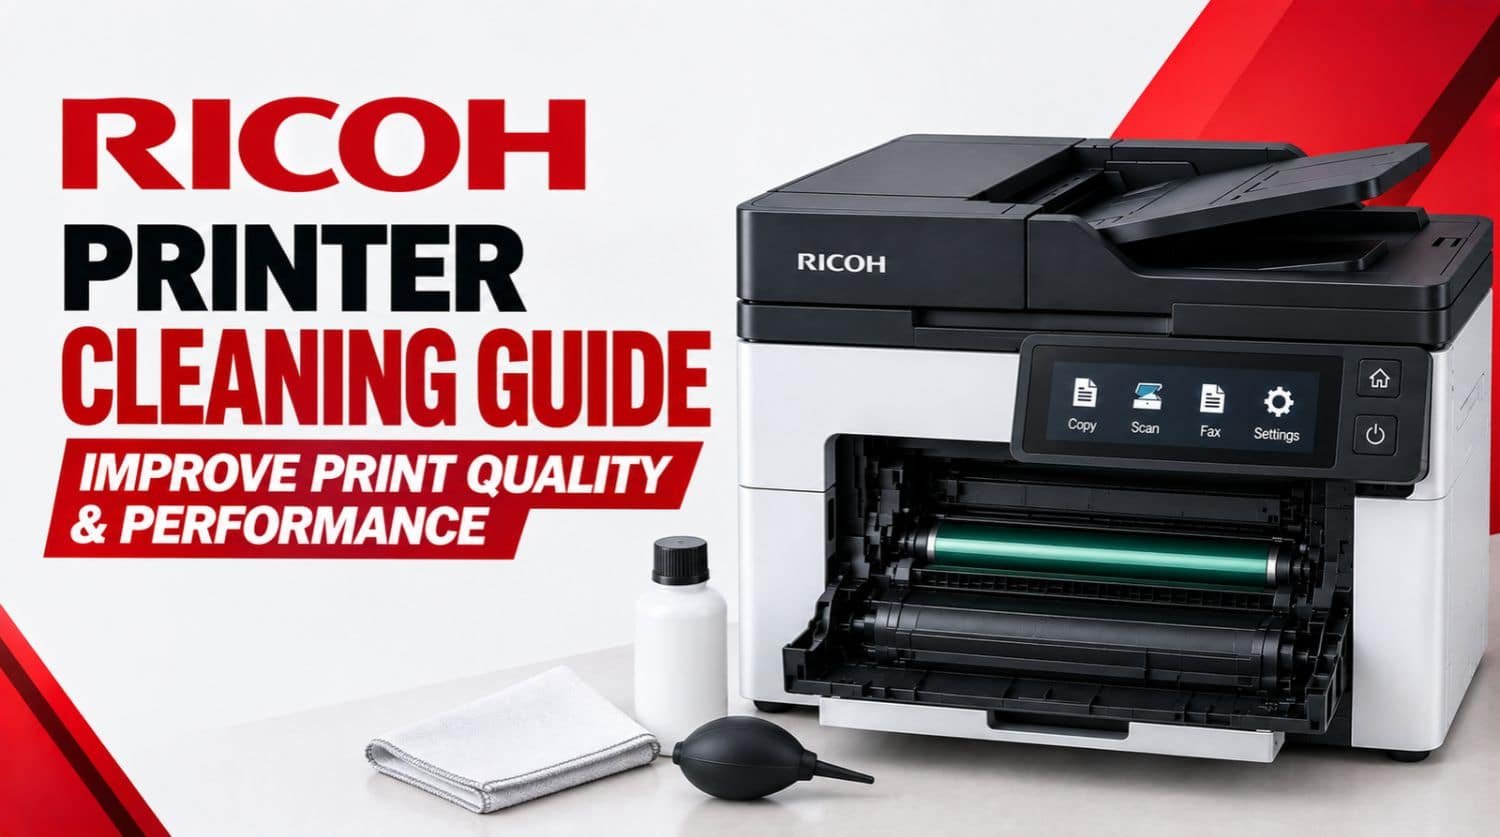
Ricoh Printer Cleaning Guide: Improve Print Quality & Performance (2026)
Regular printer maintenance is one of the easiest ways to keep your Ricoh printer producing sharp prints and operating reliably. Dust, paper fibres, toner residue, and dirt gradually build up inside the printer, leading to faded prints, paper jams, streaks, toner smudges, and slower performance.
Whether you use a Ricoh laser printer or a multifunction office printer, cleaning it regularly helps improve print quality, reduce hardware wear, and extend the life of important components.
This guide explains how to clean a Ricoh printer safely, including which parts to clean, which parts to avoid touching, and how to maintain peak performance.
Quick Fix: Why Should I Clean My Ricoh Printer?
If your Ricoh printer has streaks, faded prints, toner marks, paper jams, or poor print quality, dust and toner residue may have accumulated inside the printer. Dirty rollers, transfer components, and paper paths can also affect printing performance.
The Solution:
Turn off the printer, clean the exterior, remove dust from the paper path, clean the paper feed rollers, gently remove toner residue, run the printer’s built-in cleaning cycle (if available), and replace worn consumables when necessary. Regular cleaning prevents many common Ricoh printer problems.
Table of Contents
- Why Regular Cleaning Is Important
- Signs Your Ricoh Printer Needs Cleaning
- What You’ll Need
- Step 1: Turn Off the Printer
- Step 2: Clean the Exterior
- Step 3: Remove Dust Inside the Printer
- Step 4: Clean the Paper Feed Rollers
- Step 5: Clean the Paper Path
- Step 6: Clean Around the Toner Cartridge
- Step 7: Run the Printer Cleaning Cycle
- Step 8: Print a Test Page
- Cleaning Mistakes to Avoid
- How Often Should You Clean a Ricoh Printer?
- Maintenance Tips
- Frequently Asked Questions
- Related Guides
- Final Thoughts
Why Regular Cleaning Is Important
Over time, printers collect:
- Toner dust
- Paper fibres
- Dust particles
- Ink residue (on applicable models)
- Debris from labels and envelopes
Cleaning helps prevent:
- Paper jams
- Faded printing
- Black streaks
- Smudged pages
- Feed problems
- Toner contamination
- Premature hardware wear
Routine maintenance also improves print consistency and reduces unexpected downtime. For repeated feeding issues, see how to fix a Ricoh printer paper jam.
Signs Your Ricoh Printer Needs Cleaning
Your printer may need cleaning if you notice:
- Black streaks on pages
- Toner smudges
- Faded print quality
- Dirty paper output
- Frequent paper jams
- Multiple sheets feeding together
- Dust inside the paper tray
- Unusual noises during printing
What You’ll Need
Before cleaning your Ricoh printer, prepare:
- Soft lint-free cloth
- Microfibre cloth
- Cotton swabs
- Compressed air (used carefully)
- Clean water (if recommended)
- Disposable gloves (optional)
Avoid using:
- Alcohol on sensitive plastic parts
- Household cleaners
- Excessive water
- Sharp tools
- Vacuum cleaners not designed for toner dust
Step 1: Turn Off the Printer
Before cleaning:
- Turn off the printer.
- Disconnect the power cable.
- Allow the printer to cool if it has been in use.
This protects both you and the printer.
Step 2: Clean the Exterior
Use a soft microfibre cloth to wipe:
- Control panel
- Display
- Paper trays
- Output tray
- Scanner lid
- Exterior covers
Avoid spraying liquids directly onto the printer.
Step 3: Remove Dust Inside the Printer
Open the printer following your model’s instructions.
Carefully remove:
- Dust
- Loose paper fibres
- Small paper scraps
- Toner residue around accessible areas
Avoid touching delicate internal components unnecessarily.
Step 4: Clean the Paper Feed Rollers
Dirty rollers often cause:
- Paper jams
- Skewed pages
- Multiple sheets feeding together
Use a lint-free cloth lightly dampened with water.
Rotate each roller gently while cleaning.
Allow the rollers to dry completely before printing.
Step 5: Clean the Paper Path
Inspect the paper path for:
- Torn paper
- Labels
- Dust
- Toner build-up
Remove debris carefully without forcing any components.
Step 6: Clean Around the Toner Cartridge
Remove the toner cartridge according to the printer manual.
Inspect for:
- Toner leaks
- Excess toner dust
- Loose debris
Use a dry lint-free cloth to clean accessible areas.
Do not shake toner inside the printer.
If the cartridge is damaged or leaking, replace it.
Related guide:
troubleshoot Ricoh toner recognition issues
Step 7: Run the Printer Cleaning Cycle
Many Ricoh printers include automatic maintenance functions.
Navigate to:
Menu → Maintenance → Cleaning
The cleaning cycle helps remove toner residue and improve print quality.
Repeat the cleaning cycle only if necessary.
Step 8: Print a Test Page
After cleaning:
- Reinstall the toner cartridge.
- Close all covers.
- Turn the printer back on.
- Print a test page.
Check for:
- Sharp text
- Even toner coverage
- No streaks
- No smudges
- Correct alignment
If problems remain, additional troubleshooting may be required. For persistent faded or uneven output, see how to fix faded Ricoh printer prints.
Cleaning Mistakes to Avoid
Avoid these common mistakes:
Using Too Much Liquid
Excess moisture can damage internal components.
Touching the Drum Unit
The imaging drum is highly sensitive.
Avoid touching its surface with your fingers.
Using Household Cleaning Products
Strong chemicals may damage printer plastics and rollers.
Always use materials recommended for office equipment.
Cleaning While the Printer Is Powered On
Always disconnect power before opening the printer.
Ignoring Worn Consumables
Cleaning cannot fix worn:
- Toner cartridges
- Imaging drums
- Transfer rollers
- Fuser units
Replace worn components when necessary.
How Often Should You Clean a Ricoh Printer?
Cleaning frequency depends on usage.
Home Users
- Every 2–3 months
Small Offices
- Monthly
High-Volume Business Printing
- Every few weeks
- More often if paper dust or toner residue is noticeable
Regular cleaning helps maintain consistent print quality and reduces maintenance costs. If printing is still slow after cleaning, use this guide to fix slow Ricoh printer printing.
Maintenance Tips
Use High-Quality Paper
Good paper produces less dust and reduces paper feed problems.
Store Paper Properly
Keep paper dry and protected from humidity.
Replace Consumables on Time
Old toner cartridges and drums reduce print quality even after cleaning.
Keep Firmware Updated
Firmware updates improve printer reliability and maintenance functions.
Read:
update Ricoh printer firmware safely
Perform Routine Test Prints
Printing a test page periodically helps identify print quality issues before they become serious.
Frequently Asked Questions
How often should I clean my Ricoh printer?
For most office environments, cleaning every one to three months is recommended. High-volume printers may require more frequent maintenance.
Can cleaning improve print quality?
Yes. Removing toner residue, dust, and debris often resolves faded printing, streaks, and smudges.
Should I clean the imaging drum?
Only if your printer manual specifically recommends it. Avoid touching the drum surface directly because it can be easily damaged.
Can dirty rollers cause paper jams?
Yes. Dirty or worn feed rollers are one of the most common causes of repeated paper jams.
When should I replace parts instead of cleaning them?
If cleaning does not improve print quality or paper feeding, worn components such as toner cartridges, drums, transfer rollers, or fuser units may need replacement.
Related Guides
Continue troubleshooting with these helpful resources:
- Ricoh Printer Not Printing
- Ricoh Printer Printing Faded
- Ricoh Printer Printing Blank Pages
- Ricoh Printer Toner Not Recognized
- Ricoh Printer Paper Jam Fix
- Ricoh Printer Firmware Update
- Ricoh Scanner Not Working
- Ricoh Printer Slow Printing Fix
- Ricoh Printer Alignment Problem
- Ricoh Printer Driver Unavailable
- Ricoh Printer WiFi Setup Guide
- Ricoh Printer Offline Fix
- Ricoh Printer Connected Not Printing
- Ricoh Printer Error State Fix
- Ricoh Printer Print Queue Stuck
- Ricoh Printer Not Printing Black
- Ricoh Printer Not Printing Color
Final Thoughts
Regular maintenance is essential for keeping your Ricoh printer operating efficiently. Dust, toner residue, and paper debris can gradually affect print quality, paper handling, and overall performance. By cleaning the exterior, paper path, rollers, and toner area, running the built-in cleaning cycle, and replacing worn consumables when needed, you can prevent many common printer problems.
If cleaning alone doesn’t resolve the issue, explore the related guides above for help with faded prints, toner errors, paper jams, firmware updates, scanner issues, and other Ricoh printer troubleshooting topics. Consistent maintenance will help your Ricoh printer deliver reliable, high-quality performance for years to come.