Step-by-Step Setup Guide for the Canon imagePROGRAF TM-350
If you’re looking for a high-quality large-format printer that delivers professional results, the Canon imagePROGRAF TM-350 is a top choice. Designed for industries like AEC, retail, and education, this printer combines excellent print quality with enhanced productivity and sustainability. In this step-by-step guide, we’ll walk you through setting up your Canon imagePROGRAF TM-350, from unboxing to the first test print, ensuring you’re ready to start printing high-quality documents in no time.
Step 1: Unboxing and Preparing the Printer
The Canon imagePROGRAF TM-350 comes well-packaged to ensure safety during transit. Inside the box, you’ll find the following essential items:
- Canon imagePROGRAF TM-350 printer unit
- Printer stand
- 1 print head
- Power cable
- Starter ink tanks (490ml total)
- Installation guide and safety leaflets
Carefully remove all items from the box, and place the printer in a well-lit, spacious area where it can function efficiently. Make sure the space allows easy access for loading paper rolls and cut sheets, as well as maintenance tasks.
Step 2: Assembling the Printer Stand
Once the components are out of the box, it’s time to assemble the printer stand. Follow the Stack Printer Stand Setup Guide included with the printer. The stand assembly process is straightforward—attach the legs to the main unit securely. After the stand is ready, place the Canon imagePROGRAF TM-350 on top and ensure that it’s stable.
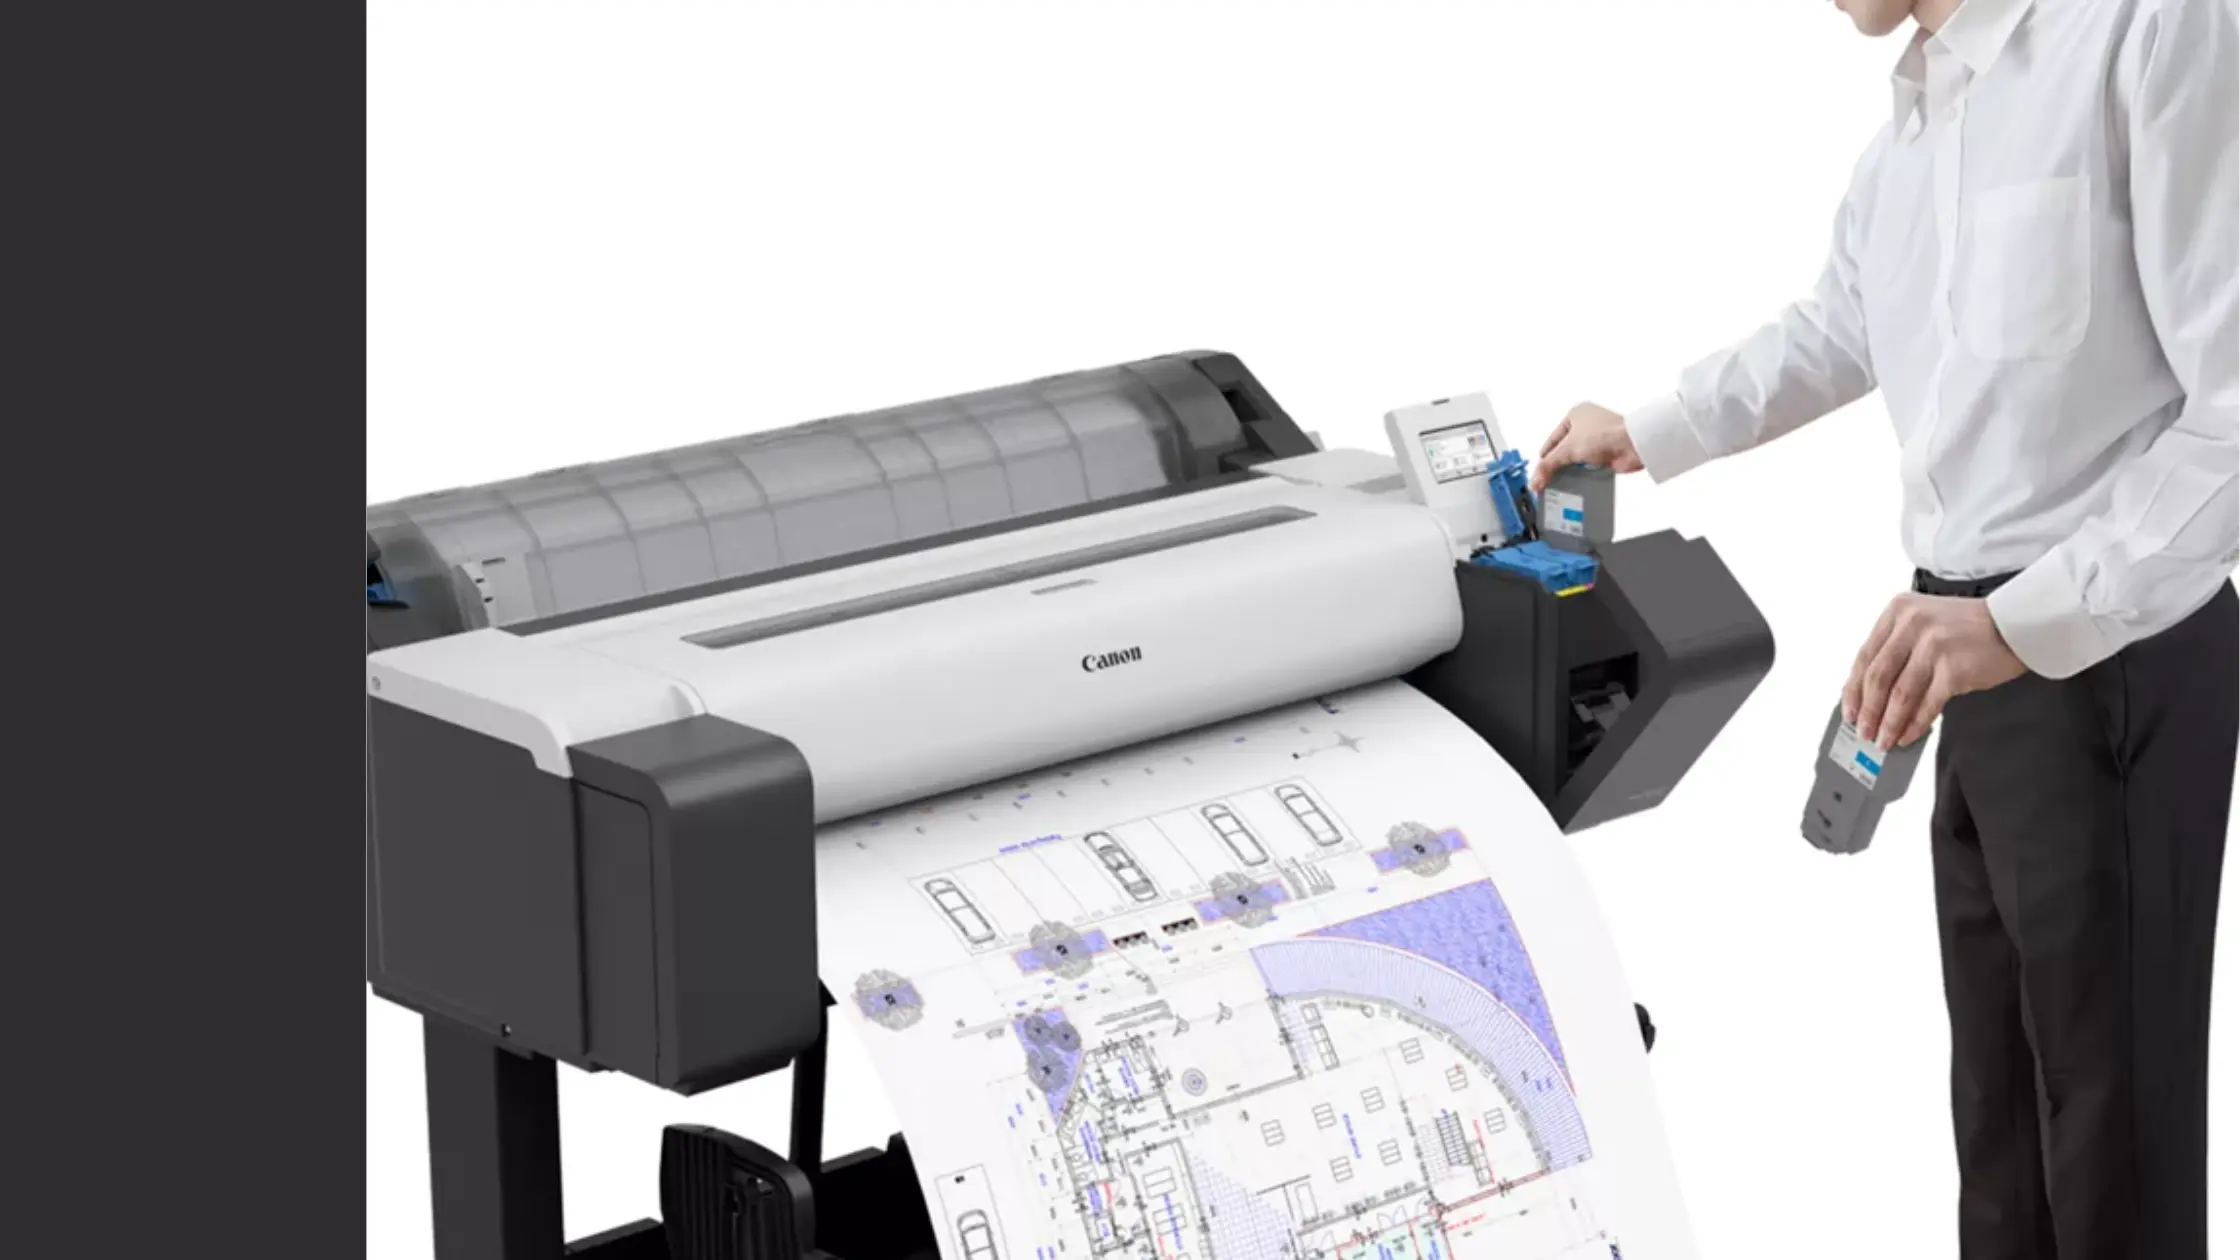
Step 3: Installing the Ink Tanks
The Canon imagePROGRAF TM-350 uses five color pigment inks: MBK, BK, C, M, and Y. Installing the ink tanks is an easy process:
- Open the printer cover to reveal the ink tank slots.
- Remove the protective seals from the ink tanks and insert them into their corresponding color-coded slots (MBK, BK, C, M, Y).
- Once the tanks are installed, close the printer cover.
With the ink tanks in place, your printer is ready to start printing with the vivid red and sharp lines it’s known for.
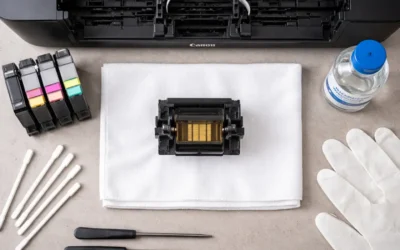
Step 4: Installing the Print Head
The next step involves installing the print head. Here’s how you can do it:
- Open the print head cover located on the left side of the printer.
- Carefully remove the print head from its packaging, avoiding contact with the printhead nozzles.
- Slide the print head into the corresponding slot in the printer and push it until it clicks securely into place.
- Close the print head cover.
Now that the print head is in place, your Canon imagePROGRAF TM-350 is one step closer to being ready for use.
Step 5: Connecting the Printer
To get your Canon imagePROGRAF TM-350 up and running, you’ll need to connect it to your computer or network. The printer supports multiple connection options, including USB, Ethernet, and wireless LAN.
- Wired connection: Use the USB B port or Ethernet port to connect the printer to your computer or network.
- Wireless connection: If you prefer to use Wi-Fi, activate the printer’s wireless LAN feature by following the instructions in the user manual.
Step 6: Powering On the Printer
After connecting the printer, plug it into a power source and press the power button. The printer will power up, and the 4.3-inch touchscreen panel will display various options to guide you through the setup process. The intuitive interface allows you to easily check important information like ink levels, media type, and more.
Step 7: Loading Media
The Canon imagePROGRAF TM-350 supports various media types, including roll paper and cut sheets. Here’s how to load your media:
- For roll paper: Open the flat-top cover, load the roll paper into the holder, and align it properly. The printer supports media widths from 203.2 mm to 917 mm and can handle a maximum roll diameter of 150 mm.
- For cut sheets: Insert the cut sheets manually into the tray, ensuring proper alignment.
Once the media is loaded, close the cover securely.
Step 8: Installing Software and Drivers
After setting up the printer physically, the next step is to install the necessary software and drivers. Visit the official Canon website to download the appropriate drivers for your operating system (Windows or macOS). Follow the instructions to install the software, and your printer will be ready for use.
Step 9: Performing a Test Print
Before you begin your regular printing tasks, it’s recommended to perform a test print to ensure everything is set up correctly. Use the Canon imagePROGRAF TM-350’s 4.3-inch touchscreen to select the test print option. Choose the desired media type and check the results for any alignment or quality issues.
Step 10: Start Printing
Your Canon imagePROGRAF TM-350 is now set up and ready to produce high-quality, large-format prints. Whether you’re printing CAD drawings, posters, or educational materials, the TM-350 can handle it all. It prints A1-sized CAD drawings in just 17 seconds and A1 posters in 22 seconds, ensuring fast and efficient print jobs.
Conclusion
Setting up the Canon imagePROGRAF TM-350 is a simple and intuitive process. By following this step-by-step guide, you’ll be able to assemble the printer, install the ink and print head, connect it to your computer or network, and start printing professional-quality documents in no time. With its advanced productivity features and sustainable design, the Canon imagePROGRAF TM-350 is the perfect choice for businesses and industries that require large-format printing with exceptional quality.