How to Scan Documents Using an All-in-One Printer?
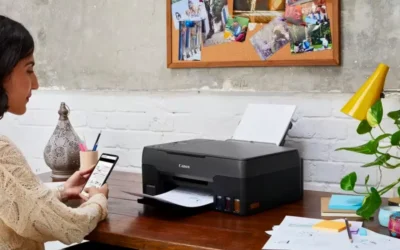
Document scanning has become a crucial aspect of everyday activities at home and the workplace. You may need to scan documents to save important documentation, to share digital files and paperwork, and to keep track of important documentation. Learning how to scan documents with an all-in-one printer can be a big time-saver and can simplify your workflow. Most modern all-in-one printers come with scanning capability. Built-in scanner features are standard and are easy for new users to learn.
If you know how to enable these built-in scanner features correctly, you can produce cleaner, clearer, and more professional scanned documents. In this introduction, we will walk through the basics of scanning and explain why knowing how to scan documents using an all-in-one printer is a valuable skill for both personal and professional tasks.

Understanding Your All-in-One Printer’s Scanning Features
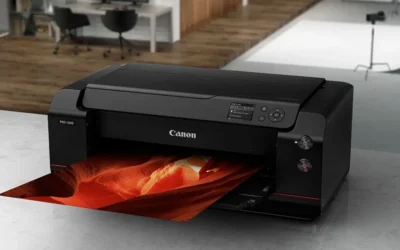
All-in-one printers are capable of printing, scanning, copying, and sometimes faxing from one machine. Before scanning, it would help to know what kind of scanner your device has. Some printers have a flatbed scanner intended for scanning single sheets, photographs, and delicate documents.
Some include an Automatic Document Feeder (ADF) used for scanning multiple pages that need to be scanned more quickly. Each type of scanner has its advantages and disadvantages, and knowing how to use the basic functions can improve your scanning results.
Flatbed Scanner
The flatbed scanner is a perfect option for documents that need to stay flat. Simply lift the lid, place your document face down on the glass, and lower the lid carefully. This method offers the cleanest scans, especially for photos, IDs, and fragile papers.
Automatic Document Feeder (ADF)
An ADF allows for a stack of papers to be placed in a single tray. This saves time when scanning multi-page files. Insert the pages face-up or face-down based on the printer instructions, and it will handle each page automatically.
Preparing Your Document for Scanning
Before you are ready to scan, ensure your document is clean and free of wrinkles or smudges. Scanning a clean document results in a cleaner digital file. Ensure your printer software has the correct paper size in your settings so that the scan matches the original document layout. Finally, make sure your printer drivers are installed and up to date.
Steps on How to Scan Using Computer Software
Almost all-in-one printers come with dedicated software for scanning. Here’s a simple process:
Step 1: Open the Printer Software
Find the program associated with your device. Popular brands include HP Smart, Epson Scan, and Canon IJ Utility. These programs allow you to manage all scanning settings.
Step 2: Choose the Scan Type
You can select whether you want a color scan, a black-and-white scan, or a high-resolution scan. Each type serves different needs depending on the document.
Step 3: Preview the Scan
Previewing helps you ensure everything is aligned. If something looks wrong, you can reposition the document before finalizing it.
Step 4: Save the File
Save the file in your preferred format, such as PDF or JPEG. PDF works best for official documents, while JPEG is great for images.
How to Scan Directly From the Printer Panel
Some all-in-one printers let you scan without needing a computer. You can initiate the scan directly from the control panel.
Steps to Follow
- Select the Scan option on the screen.
- Choose whether you want to scan to Email, USB, Cloud, or Computer.
- Adjust settings like resolution and format if needed.
- Start the scan and wait for the confirmation message.
This method is quick and is especially helpful if you need to scan something urgently without opening software.
Scanning From Mobile Devices
Many printers now support mobile scanning through apps. This is helpful if you rely heavily on phones or tablets.
Using Mobile Apps
- Install the manufacturer’s app.
- Connect your phone to the same Wi-Fi network as the printer.
- Choose Scan and position your document.
- Save your file to your gallery, email, or cloud storage.
Mobile scanning provides flexibility, letting you manage documents anytime.
Common Scanning Problems and How to Fix Them
Even good printers may run into issues. Here are frequent problems and simple solutions.
Problem 1: Scan Appears Too Dark or Too Light
Adjust brightness or contrast settings before scanning. Re-scanning usually fixes the issue.
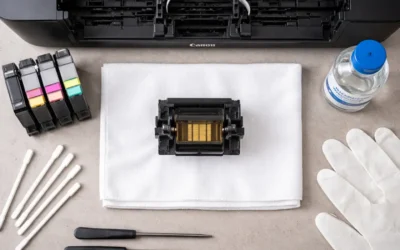
Problem 2: Blurry Images
Make sure the lid is closed properly and the document is flat. Clean the scanner glass for best performance.
Problem 3: Scanner Not Detected
Restart your printer or reinstall the device software. Check Wi-Fi or cable connections.
Tips for Better Scanning Results
To improve quality, use these helpful practices:
- Choose a higher resolution (300 DPI or more) for important documents.
- Save your scans in PDF if you’re archiving or sharing official documents.
- Regularly clean the scanner glass to avoid smudges.
- Name your files properly for better organization.
These small habits make scanning more efficient and professional.
Final Words
Once you learn the basic steps and features, scanning documents with an all-in-one printer is easy. You can use either scanning software, scanning from the printer panel, or by using a mobile app, and it will surely make scanning quick and easy with the appropriate steps to follow. Prepare your documents, use a good settings configuration, and ensure your device is well-maintained to produce reliable results each time. Also, learning how to scan documents using an all-in-one printer helps with document management for your paperwork, making your day more productive.