Epson scanners have become an essential part of homes and offices due to their high-quality scanning performance and reliable operation. They are widely used for digitising documents, photos, and artwork efficiently. However, like any electronic device, scanners can sometimes stop working properly or show error messages without any clear reason. Knowing how to reset Epson scanner can save you time and unnecessary frustration when such issues arise. A simple reset can resolve unresponsive software, flashing error lights, or connectivity problems that interrupt your daily tasks.
This guide will explain easy methods to reset your Epson scanner safely and quickly. By understanding these steps, you can handle minor problems yourself without waiting for technical support, ensuring your work continues smoothly without unexpected delays.
Why Resetting Your Epson Scanner is Important?
Resetting an Epson scanner can resolve multiple issues such as software crashes, scanner not responding, error lights blinking, or connection failure with your PC. Sometimes, excessive use without restarting creates memory overload, resulting in poor scanning performance. Resetting helps in clearing temporary memory, refreshing internal settings, and fixing software glitches that prevent it from working properly. It also ensures your scanner maintains optimal speed and performance.
Types of Reset for Epson Scanners
Depending on the problem you are facing, there are different types of reset options available:
Soft Reset – Quick restart to clear minor errors.
Hard Reset – Restores factory settings to remove deeper software issues.
Resetting via Epson Scan Settings – Useful for network scanning issues.
Knowing how to reset Epson scanner using these methods can save time and reduce downtime for your daily scanning tasks.
How to Perform a Soft Reset?
A soft reset is the easiest and fastest way to resolve temporary errors.
Turn off your Epson scanner using the power button.
Unplug the power cable from the wall socket.
Wait for 2-3 minutes to allow any stored electricity to discharge.
Plug the cable back in and turn on the scanner.
This method refreshes your scanner without changing any saved settings or preferences. It is best for issues like sudden freezing or scanner not responding.
How to Perform a Hard Reset (Factory Reset)
When your scanner has persistent errors that a soft reset does not fix, performing a hard reset can help. Here is how to reset Epson scanner to factory settings:
Turn on your Epson scanner.
Locate the Reset button on your scanner. It is usually at the back or near the Ethernet port (refer to your scanner manual for exact location).
Press and hold the Reset button using a pointed object like a pen tip for about 5-10 seconds.
Release the button when the scanner lights start flashing. This indicates the reset process has started.
Wait for the scanner to restart automatically. It will be restored to factory default settings.
Note: Hard resetting will erase any network settings or customised configurations you had previously saved. You will need to reconfigure your scanner settings after the reset.
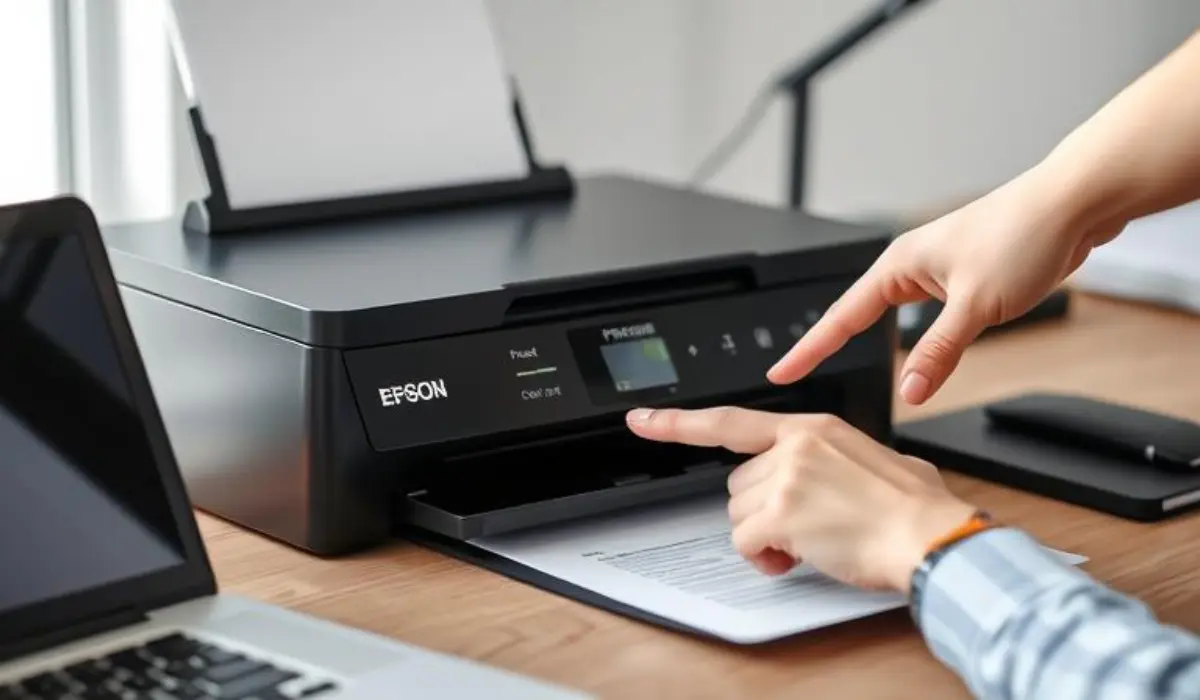
How to Reset Scanner Settings via Epson Software?
If your scanner is connected to a network and you face issues scanning over Wi-Fi or LAN, resetting through Epson Scan Settings can help.
Open Epson Scan Settings on your computer.
Click on your scanner model from the list.
Click Delete to remove existing configurations.
Restart your computer.
Reopen Epson Scan Settings, and click Add to reconfigure your scanner.
This process helps in resolving IP address conflicts or network scanning errors efficiently without resetting the physical device.
Things to Do After Resetting
After learning how to reset Epson scanner, it is equally important to recheck the following:
Reinstall any required drivers or software if they were removed during reset.
Reconnect your scanner to Wi-Fi or LAN if you did a hard reset.
Calibrate your scanner if scanning alignment seems off.
Check for firmware updates on the Epson support website to keep it running smoothly.
Common Mistakes to Avoid During Reset
Not unplugging properly during soft reset, which prevents full power discharge.
Holding the reset button too short or too long during hard reset, causing incomplete reset.
Skipping driver reinstallation after hard reset, leading to connection issues.
Not backing up network settings if required for your office environment.
Avoiding these mistakes ensures your scanner resets efficiently without additional problems.
Conclusion
Resetting your scanner is often the quickest solution to fix unexpected errors or connection failures that affect your work. Understanding how to reset Epson scanner empowers you to solve common issues independently, saving both time and service costs. Whether you perform a soft reset for temporary glitches or a factory reset for deeper software problems, it is important to follow each step carefully. Always remember to reinstall any required drivers after a hard reset and reconfigure network settings if needed. By practising these simple methods, you can keep your Epson scanner functioning at its best and avoid unnecessary interruptions in your workflow. If resetting does not resolve the issue, contacting Epson’s support team for further assistance is recommended to prevent long-term technical problems.