How to Put Ink in a Canon Printer? A Complete Guide for Users!
If you are a Canon printer user, you know that keeping your printer ready with ink is essential for smooth printing tasks. Whether you print documents for work, school projects, or photos at home, learning how to put ink in a Canon printer properly saves you from sudden printing interruptions. Many users often find it confusing, especially if they are using a Canon printer for the first time. In this guide, we will explain how to put ink in a Canon printer step by step in the simplest way possible so you can handle it confidently. From opening the cartridge cover to checking alignment after installation, every step is covered here to help you keep your printing work hassle-free.
Why Knowing the Correct Way is Important?
Knowing how to put ink in a Canon printer correctly ensures that your prints remain clear and vibrant without any colour or streaking issues. Incorrect installation may damage the cartridge holder or affect print quality. It also helps you avoid unnecessary service visits or spending extra on fixing errors caused by improper handling. Moreover, learning this task makes you independent in managing your printer without waiting for someone else to assist you.
Step 1: Prepare Your Printer
Before replacing or adding ink, make sure your Canon printer is turned on and placed on a flat surface. Open the front or top cover gently depending on your printer model. Wait until the ink cartridge holder moves to the replacement position automatically. Never force it by hand as it can damage the printer mechanism. If your printer has a touchscreen display, it may guide you with onscreen instructions to proceed with cartridge replacement.
Step 2: Identify the Empty Cartridge
Most Canon printers show low ink alerts on their screen or blinking lights on the cartridge section to indicate which colour needs replacement. Identify the cartridge you need to replace and confirm it by checking the ink levels in your printer software on your computer or directly on the printer’s display panel. This ensures you do not remove a cartridge that still has sufficient ink.
Step 3: Remove the Old Cartridge
To continue learning how to put ink in a Canon printer, press down the empty cartridge gently to release it. It will slightly pop out or loosen from its slot. Pull it out carefully without touching the copper contacts or ink nozzles at the bottom as it may cause print errors or ink stains. Place the old cartridge on a tissue or newspaper to avoid staining your table or desk.
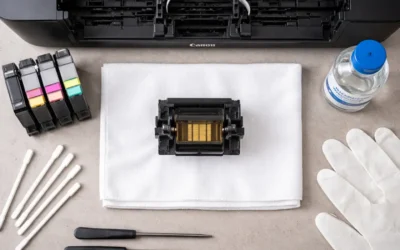
Step 4: Unpack the New Cartridge
Take the new Canon ink cartridge out of its box and remove all protective tapes or orange covers carefully. Ensure you do not shake the cartridge as it might cause ink leakage. Avoid touching the copper contacts and nozzles for smooth installation. Hold the cartridge from the sides as directed on its packaging to prevent accidental damage.
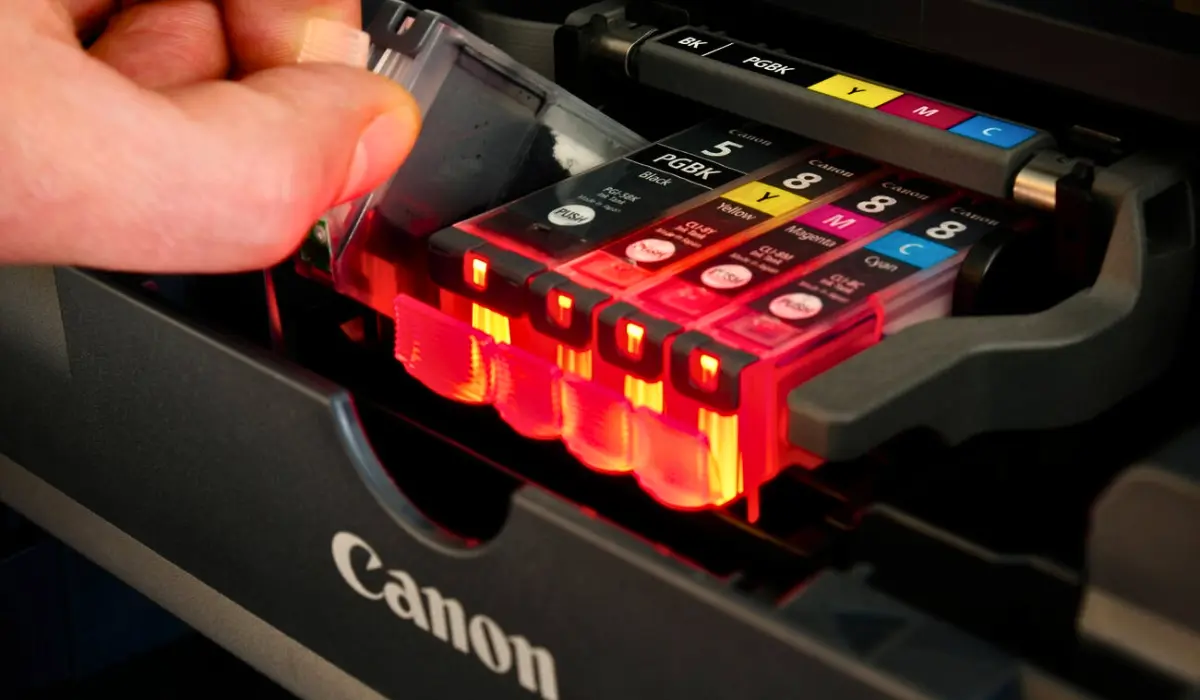
Step 5: Install the New Cartridge
Hold the new ink cartridge in the correct position with the label facing up and the copper contacts facing the printer. Slide it gently into the empty slot and push it upwards until it clicks into place. Make sure it is securely installed and does not wobble. Repeat the same for other cartridges if you are replacing more than one at the same time.
Step 6: Close the Printer Cover
Once you have finished installing the new ink cartridge, close the printer cover gently. Your printer will automatically start recognising the new cartridge. The printer may perform a short cleaning cycle, and the screen will display that the ink has been replaced successfully. Do not turn off the printer during this process as it may interrupt the cleaning cycle.
Step 7: Check Print Quality
Finally, after learning how to put ink in a Canon printer, it is important to check your print quality. Print a test page or nozzle check pattern from your printer settings to ensure the new cartridge is working perfectly and the print head is aligned correctly. If the printout shows any faded lines or gaps, run the print head cleaning function from your printer software or control panel to resolve the issue.
Tips to Remember
Always use genuine Canon ink cartridges to maintain print quality and avoid warranty issues.
Store spare cartridges in a cool, dry place away from direct sunlight to keep them in good condition.
Do not remove cartridges unnecessarily. Replace them only when your printer alerts you of low or empty ink.
Keep tissues nearby while replacing cartridges to avoid ink stains on your hands or table.
Read your printer’s user manual for specific instructions if you have a unique Canon printer model.
Conclusion
Learning how to put ink in a Canon printer is an essential skill that saves time, maintains print quality, and keeps your device running smoothly. Always handle cartridges carefully, follow the steps mentioned, and ensure you install the ink correctly without forcing it into the slot. This guide covered everything from preparing your printer, removing old cartridges, unpacking new ones, to testing print quality after installation. Now you can replace your Canon printer ink confidently whenever required and continue printing your important documents or photos without delays. Remember, putting ink in your Canon printer the right way is a small but important task that supports your daily printing needs seamlessly.