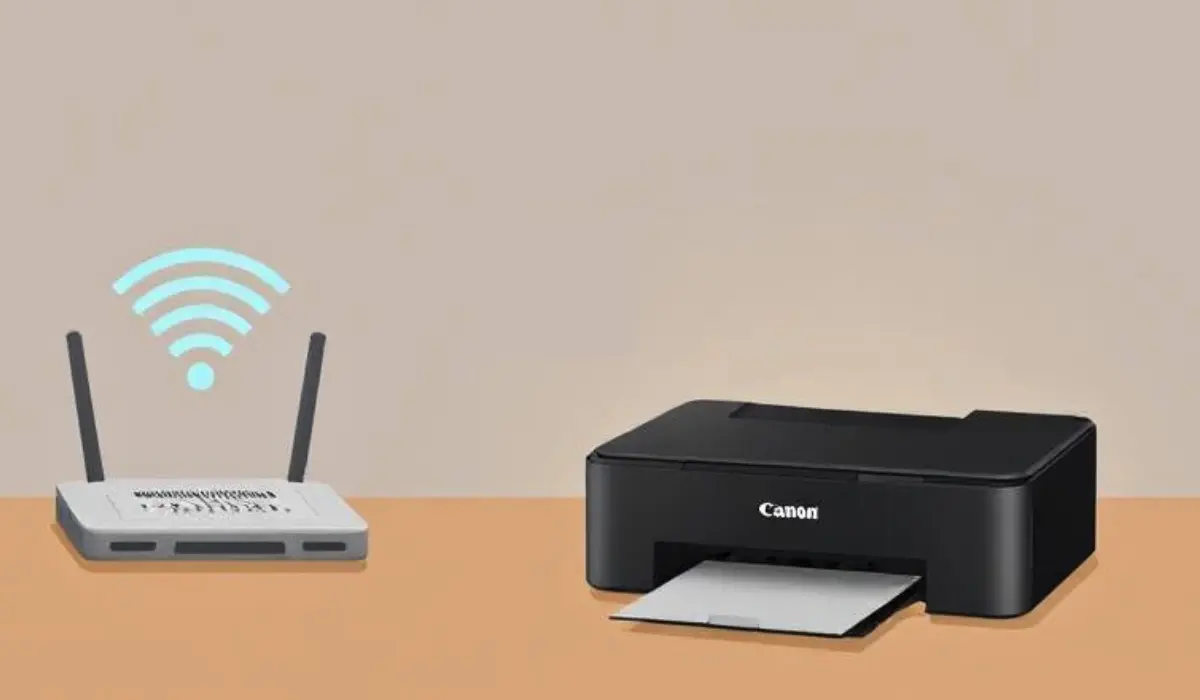
How to Connect Canon Printer to New Network Easily?
Setting up your Canon printer on a new Wi-Fi network may seem complicated, especially if you have recently changed your router or moved to a new location. Many users ask how to connect Canon printer to new network without facing errors or configuration issues. Whether you are working from home or managing office printing tasks, a stable wireless connection ensures smooth printing from laptops, desktops, and smartphones. In this article, you will learn simple and clear steps to connect your Canon printer to a new network. You will also understand common mistakes to avoid during this process to save your time and effort. By the end, you will feel confident about handling any network change without needing a technician.
Why Connecting to the New Network is Important
When you change your Wi-Fi router, update your internet plan, or shift to a different office floor, your Canon printer will not automatically detect the new network. It continues to search for the old network settings saved previously. This is why many people wonder how to connect Canon printer to new network effectively. Without updating the connection, you may face printing delays, errors showing ‘printer offline,’ or failed print jobs that reduce your productivity.
Check Your Network Requirements First
Before you begin the connection process, make sure of these basic requirements:
Your Wi-Fi router is switched on and working properly.
You know your Wi-Fi network name (SSID) and password.
Your printer is turned on and ready to connect.
Having these details ready avoids interruptions while setting up the printer on your new network.
Methods to Connect Canon Printer to New Network
1. Using the Printer Control Panel
Most modern Canon printers have a touch panel or screen for direct setup. Here is how you can do it:
- Press the Menu or Home button on your Canon printer.
- Go to Network Settings or Wi-Fi Settings.
- Select Wireless LAN Setup.
- Choose Easy Setup or Standard Setup.
- The printer will start searching for available networks.
- Select your new Wi-Fi network from the list.
- Enter your Wi-Fi password carefully using the on-screen keypad.
- Confirm and wait until the printer shows Connected status.
After this, try printing a test page from your computer to confirm successful connection.
2. Using WPS Push Button
If your router supports WPS, this is one of the fastest ways to connect:
- Press and hold the Wi-Fi button on your Canon printer until the Wi-Fi lamp flashes.
- Within two minutes, press the WPS button on your router.
- The Wi-Fi light on the printer will continue blinking while connecting.
- Once the connection is complete, the lamp will stay lit.
This method avoids entering passwords manually and is highly convenient.
3. Using Canon PRINT Inkjet/SELPHY App
For those who prefer mobile setup, Canon’s official app makes it easy:
- Download the Canon PRINT Inkjet/SELPHY app on your smartphone.
- Ensure your phone is connected to the new Wi-Fi network.
- Open the app and select Add Printer or Register Printer.
- Follow the on-screen instructions to connect your printer to the network.
This method is suitable for both iOS and Android users and is very helpful if you do not have easy access to the printer’s screen or buttons.
Common Mistakes to Avoid
When learning how to connect Canon printer to new network, avoid these errors:
Entering the wrong password: Always double-check your Wi-Fi password before confirming.
Printer too far from router: Weak signal leads to failed connections. Place your printer within a strong Wi-Fi range.
Skipping previous network reset: For some models, you may need to reset old network settings before adding a new one.
Ignoring firmware updates: An outdated printer firmware can block new Wi-Fi setup features. Update it regularly via Canon support.
Benefits of Connecting Correctly
When your Canon printer is connected properly to the new network, you can:
Print directly from multiple devices without USB cables.
Access cloud printing and scanning features easily.
Avoid printer offline issues that delay your work.
Save time by managing settings through the Canon PRINT app.
These benefits enhance your productivity, whether at home or in a busy office.
Troubleshooting Tips
If you still face issues after following the setup steps:
Restart your Wi-Fi router and printer.
Check if your router has MAC address filtering enabled, which may block new devices.
Try reconnecting using an alternative method mentioned above.
Reset your printer’s network settings to default and start again.
Contact Canon support for model-specific troubleshooting.
Conclusion
Knowing how to connect Canon printer to new network is essential for uninterrupted printing performance. Whether you choose the control panel method, WPS push button, or Canon’s mobile app, each step is simple when done carefully. Always ensure your Wi-Fi password is correct, your printer is updated, and your device is within the network’s range. Connecting your Canon printer properly saves time, avoids frequent offline errors, and helps you use advanced printing features without worries. Next time you change your router or shift your office setup, follow these tips to connect confidently and continue your printing tasks smoothly.