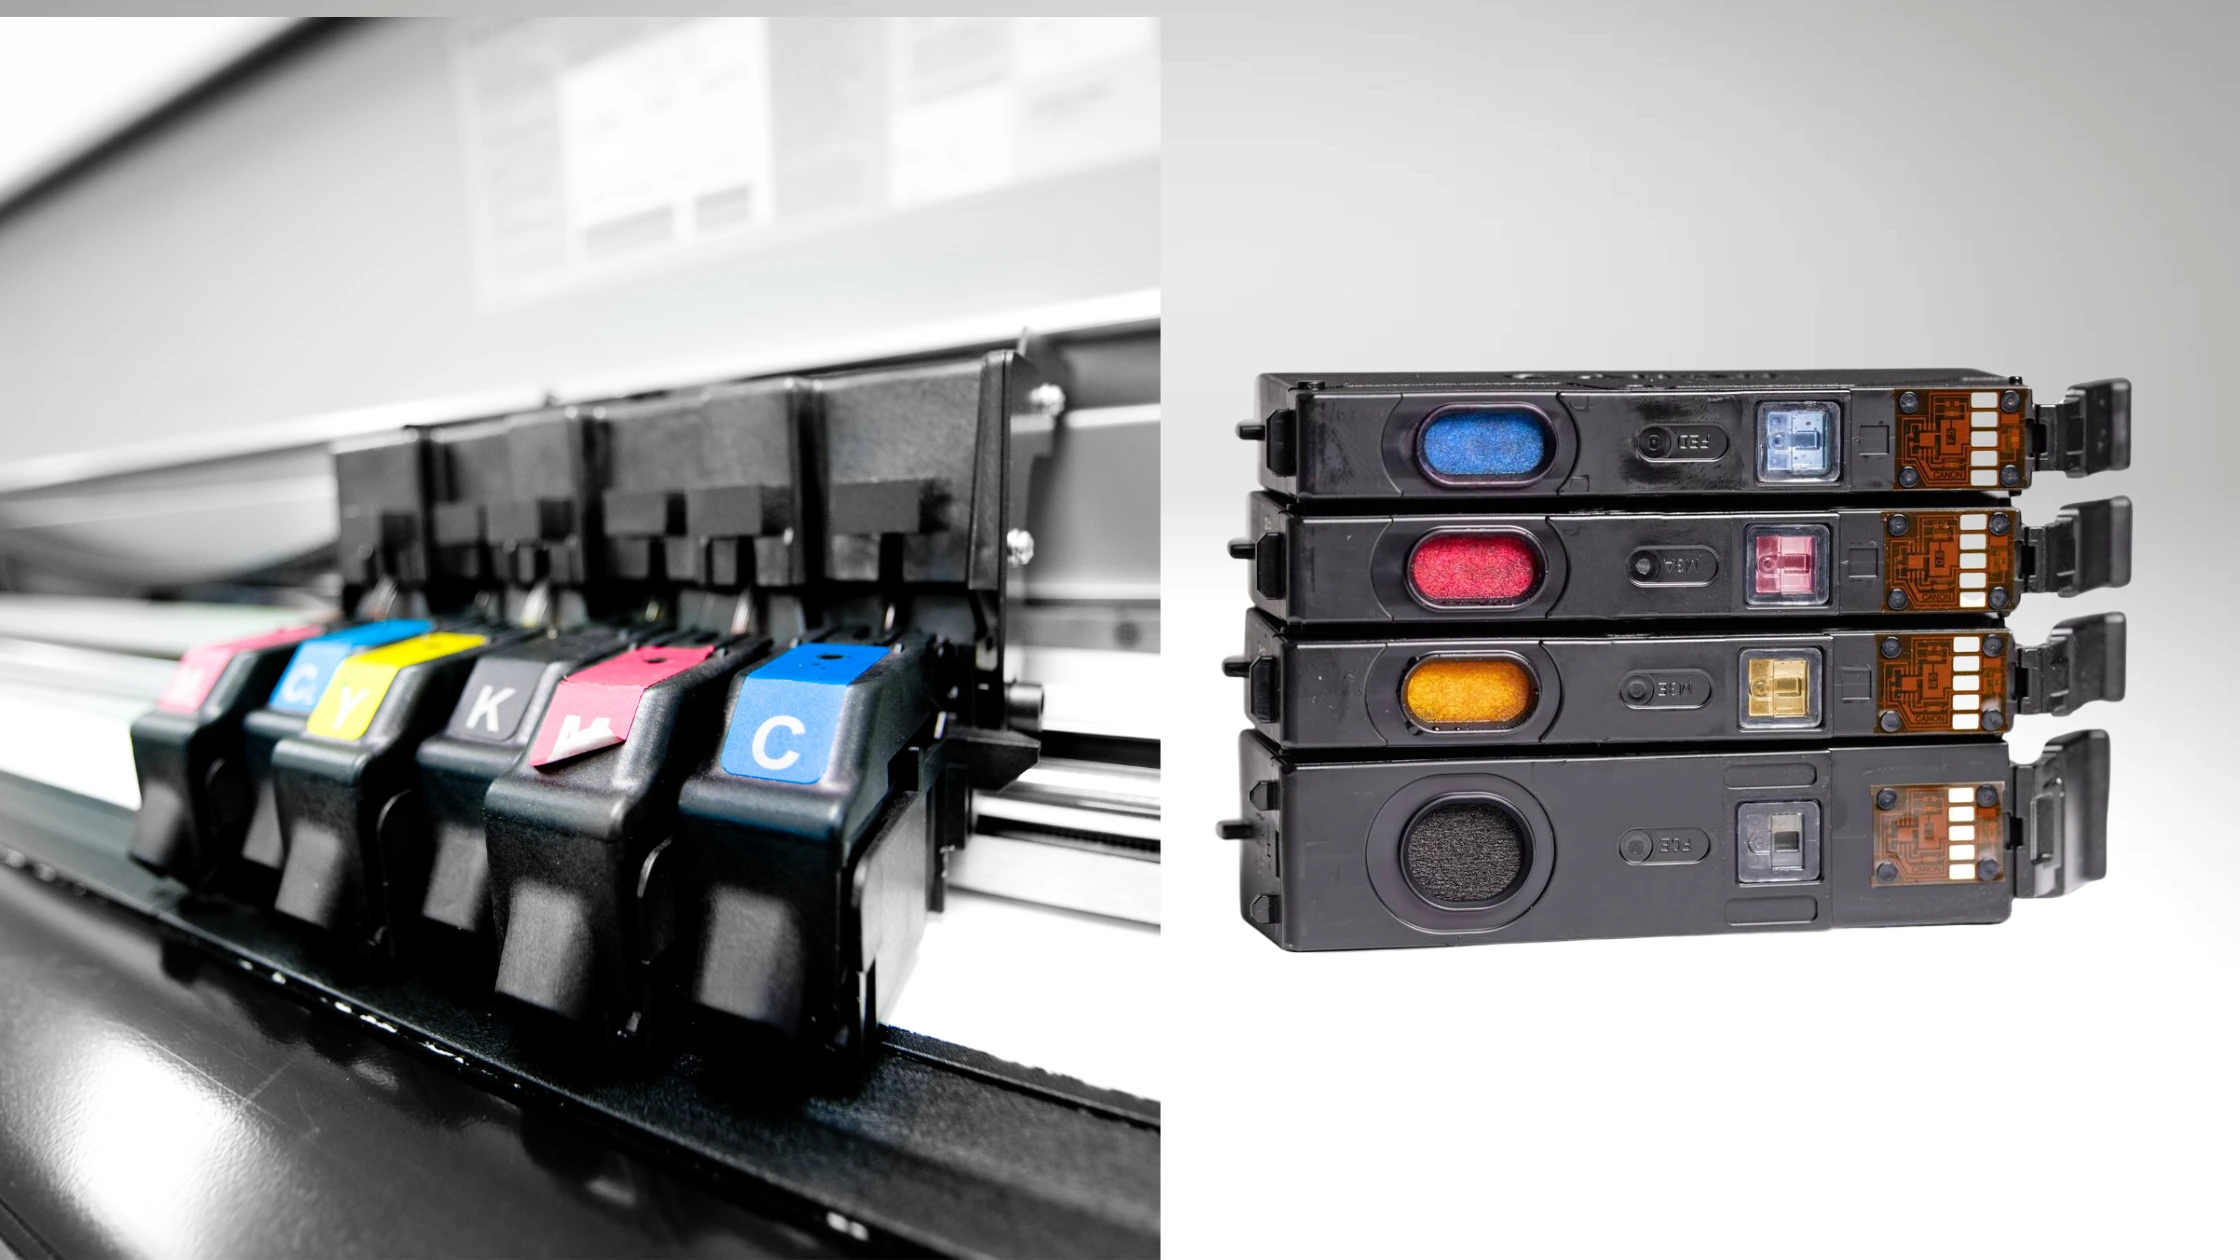
How Do I Change My Ink in My Canon Printer?
Printers are essential for homes and offices, helping us print documents, photos, and more. But what happens when your printer runs out of ink? If you own a Canon printer, you might be wondering, How to change ink in your Canon printer? Changing ink is a simple process that ensures high-quality prints and prevents printing issues. Using low ink can cause faded or streaky prints, so replacing it on time is important. This guide will walk you through the process step by step, making it easy to change your ink like a pro. Whether you’re using your printer for work, school, or personal projects, maintaining it properly will help extend its lifespan. Keep reading to learn everything you need to know about replacing ink in your Canon printer.
Why Changing Ink in Your Canon Printer Is Important?
Changing your ink on time ensures that your prints remain clear, sharp, and high-quality. If you continue printing with low ink levels, your documents may appear faded or streaky. Regularly replacing the ink also helps maintain your printer’s performance and prevents any clogging issues.
Things You Need Before Changing Ink
Before you begin the ink replacement process, gather the following items: a new ink cartridge compatible with your Canon printer model, a clean, dry cloth (in case of ink spills), and your Canon printer manual (optional, but helpful).
Step-by-Step Guide To Change Ink In Your Canon Printer
Step 1: Turn On the Printer
Ensure your Canon printer is turned on. If it is off, press the power button and wait for it to become ready.
Step 2: Open the Printer Cover
Carefully open the front or top cover of your printer. The location of the cover depends on your specific Canon printer model. Once you open it, the ink cartridge holder will move to the center for easy access.
Step 3: Remove the Empty Cartridge
Wait for the cartridge holder to stop moving. Gently press down on the empty ink cartridge to release it, then slowly pull the cartridge out and dispose of it properly.
Step 4: Unpack the New Ink Cartridge
Take the new ink cartridge out of its packaging. Remove any protective tapes or plastic seals from the cartridge. Be careful not to touch the nozzle or the gold-colored chip, as this can cause printing issues.
Step 5: Insert the New Ink Cartridge
Align the new ink cartridge with the correct slot. Push it gently into place until you hear a clicking sound, indicating it is securely installed.
Step 6: Close the Printer Cover
Once the new cartridge is in place, close the printer cover properly. The printer will then recognize the new ink and may perform an automatic cleaning cycle.
Step 7: Print a Test Page
To ensure that your Canon printer is working correctly after the ink change, print a test page. This helps confirm that the ink is flowing smoothly and there are no issues with printing quality.
Tips for Handling Ink Cartridges
Always buy genuine Canon ink cartridges to ensure the best quality and longevity of your printer. Store extra ink cartridges in a cool, dry place to prevent them from drying out. If ink gets on your hands, wash them immediately with soap and water. Avoid shaking the ink cartridge, as this may cause leaks.
Conclusion
Now that you know how to change the ink in your Canon printer, you can easily replace your cartridges whenever needed. Keeping your printer’s ink fresh ensures high-quality prints and a smooth printing experience. Regular maintenance not only improves print quality but also extends the life of your printer. If you experience issues after replacing the ink, follow the troubleshooting steps provided in this guide. Taking proper care of your printer and using genuine Canon ink will help you avoid problems and get the best performance from your device. If you ever need further assistance, refer to your printer’s manual or contact Canon’s customer support for help. By following these simple steps, you’ll be able to change your ink like a pro and keep your Canon printer running efficiently!
FAQs
1. How do I reset my Canon printer after changing ink?
If your Canon printer does not recognize the new ink, you may need to reset it. Turn off the printer and unplug it from the power source. Wait for about 5 minutes, then plug the printer back in and turn it on. If the issue persists, check the printer’s display screen for reset options or refer to the user manual.
2. How do I load my Canon printer with ink?
Loading ink in a Canon printer involves replacing the empty cartridge with a new one. Follow the steps outlined in this guide to ensure you install the ink properly.
3. Why is my Canon printer not printing after changing the ink?
If your printer is not printing after an ink change, make sure the ink cartridge is correctly installed. Check if the cartridge protective tape has been removed and perform a printer cleaning cycle to unclog any dried ink.
4. Can I use third-party ink cartridges in my Canon printer?
While third-party cartridges may work, they can sometimes cause printing issues or void your printer’s warranty. It is always best to use original Canon ink for the best results.
5. How often should I change the ink in my Canon printer?
The frequency of ink replacement depends on your printing habits. If you print frequently, you may need to change the ink every few weeks. If you print occasionally, the ink may last for months. Always check your printer’s ink level indicator to know when it’s time for a replacement.


