How to Clean Epson Printer Ink Tank for Better Performance?
Keeping your Epson printer in top condition is essential for harmonious, high- quality prints. Over time, essay residue and dust can make up inside the tank, affecting performance and indeed causing printing crimes. Knowing how to clean Epson printer essay tank duly can help extend the life of your printer and insure that your prints always look their stylish. This task may sound specialized, but with the right way, it can be unexpectedly simple. Whether you’re a home stoner or running a small business, regular conservation of your essay tank prevents clogging, improves color delicacy, and saves plutocrat on gratuitous repairs. In this companion, we will go through practical and safe cleaning styles that you can follow at home without demanding professional help.
Why Cleaning Your Ink Tank Matters?
Epson printers, especially those with EcoTank systems, rely on continuous ink supply for smooth printing. When the ink tank becomes contaminated with dried ink, dust, or impurities, it can cause streaks, faded prints, or even complete print failures. Regular cleaning ensures:
Clear, vibrant prints with accurate colors
Reduced risk of clogged printheads
Longer lifespan of your printer
Lower maintenance costs in the long run
Signs That Your Epson Ink Tank Needs Cleaning
It’s important to identify when your printer is due for maintenance. Common signs include:
Lines or streaks appearing on your printed documents
Colors appearing faded or incorrect
Printer errors related to ink supply
Unusual noises during printing
Preparing for the Cleaning Process
Before you start, make sure you have the right tools and environment for cleaning:
A soft, lint-free cloth
Clean, filtered water or manufacturer-recommended cleaning solution
Gloves to protect your hands from ink stains
A well-lit workspace with a flat surface
Turn off and unplug your printer before beginning any cleaning process. This ensures safety and prevents damage to the printer’s electrical components.
Step-by-Step Guide: How to Clean the Epson Printer Ink Tank
1. Check the Printer Manual
Each Epson printer model may have specific cleaning instructions. Refer to your manual for model-specific steps, especially for removing and reattaching ink tanks.
2. Remove the Ink Tank Carefully
Gently open the ink tank compartment and remove the tank, following the manufacturer’s instructions. Avoid shaking the tank excessively, as this could cause ink spills.
3. Empty the Tank (If Needed)
If you are dealing with clogged ink or contaminated liquid, empty the remaining ink into a safe disposal container. Never pour ink down household drains; check local disposal guidelines.
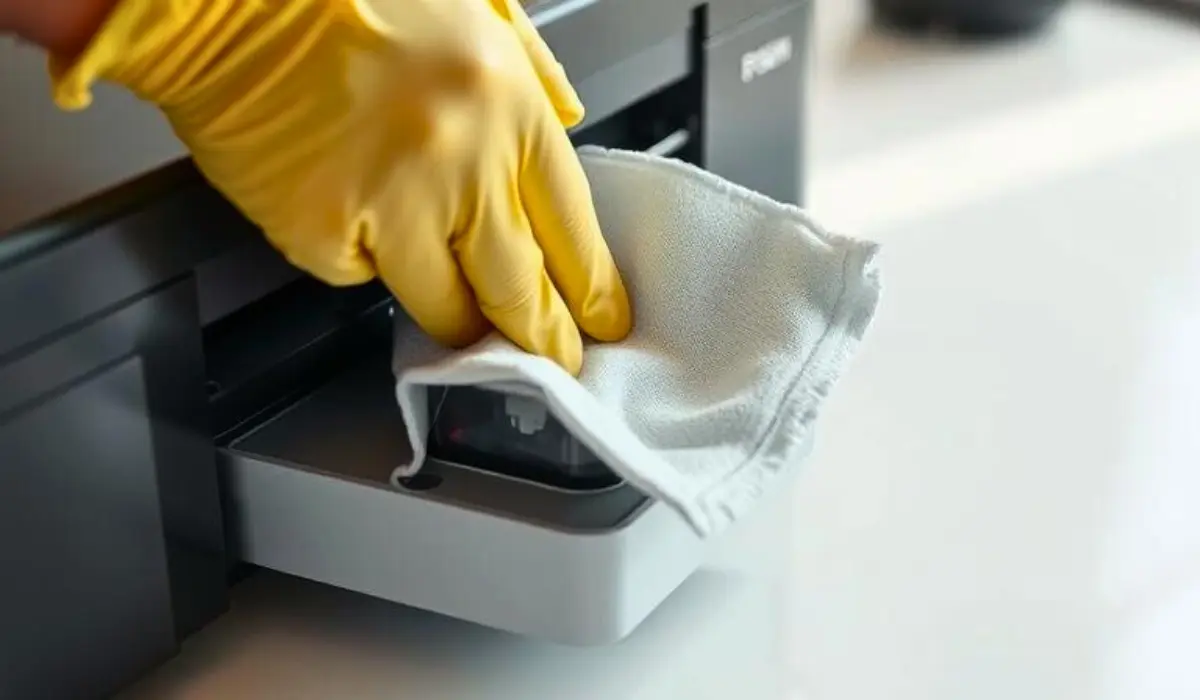
4. Clean the Inside of the Tank
Dip the lint-free cloth in filtered water or Epson-approved cleaning solution. Wipe the inside gently to remove any dried ink or debris. Avoid harsh scrubbing, as it can damage the tank’s surface.
5. Rinse and Dry
If your printer model allows, you can rinse the tank with clean water. Make sure it is completely dry before refilling to prevent ink dilution or contamination.
6. Refill with Fresh Ink
Use only genuine Epson ink to ensure compatibility and quality. Fill the tank to the recommended level and avoid overfilling.
7. Reattach and Run a Test Print
Securely place the ink tank back into the printer. Turn on the printer and run a test print to check for improved quality.
Additional Tips for Maintaining Your Epson Ink Tank
- Use the Printer Regularly – Frequent printing prevents ink from drying inside the tank or printhead.
- Store in a Clean Environment – Keep your printer away from dusty areas to avoid debris entering the tank.
- Use Quality Ink – Low-quality ink can cause clogs and affect print quality.
- Follow the Recommended Cleaning Schedule – Even if prints look fine, periodic cleaning helps prevent issues before they start.
When to Seek Professional Help
If you have tried cleaning the ink tank and print quality issues persist, it may be time to seek professional servicing. Problems like severe clogging, internal leaks, or mechanical damage require expert repair to avoid worsening the issue.
Common Mistakes to Avoid When Cleaning
Using Tap Water – It may contain minerals that can damage the printer.
Skipping the Drying Step – Moisture can cause ink dilution or damage.
Using Harsh Chemicals – Only use Epson-approved solutions to protect your printer’s internal parts.
Eco-Friendly Disposal of Old Ink
Old or contaminated ink should be disposed of safely. Many local recycling centers accept printer ink and cartridges for proper disposal, ensuring minimal environmental impact.
Conclusion
Proper maintenance is key to getting the best results from your Epson printer. Understanding how to clean Epson printer ink tank not only improves print quality but also extends the life of your device. By following the steps in this guide—preparing the right tools, cleaning with care, and using quality ink—you can keep your printer running smoothly for years. Regular cleaning prevents clogs, reduces waste, and ensures that every print is as sharp and vibrant as the first. Make cleaning your ink tank a part of your printer care routine, and you’ll save both time and money while enjoying consistently great printing performance.
